"Brown paper packages tied up in string, these are a few of my favorite things!" That or presents with large festive ribbons. How do you like wrapping gifts? The holiday season is upon us and I bet you've been bitten by the Christmas bug too and went out and bought a gazillion presents for your loved ones. Unfortunately, your budget's gone low in the wrapping department. Well that or you just spaced and forgot to buy supplies. Worry no more because I've got something for you: DIY gift bows using pretty paper or recycled magazine pages!
This DIY is pretty easy and it will pretty much cost a few cents per bow or none at all if you've already got excess materials from past craft projects. I've learned this trick thanks to Pinterest and I thought about sharing it here on the blog for those of you who may not have come across it yet.

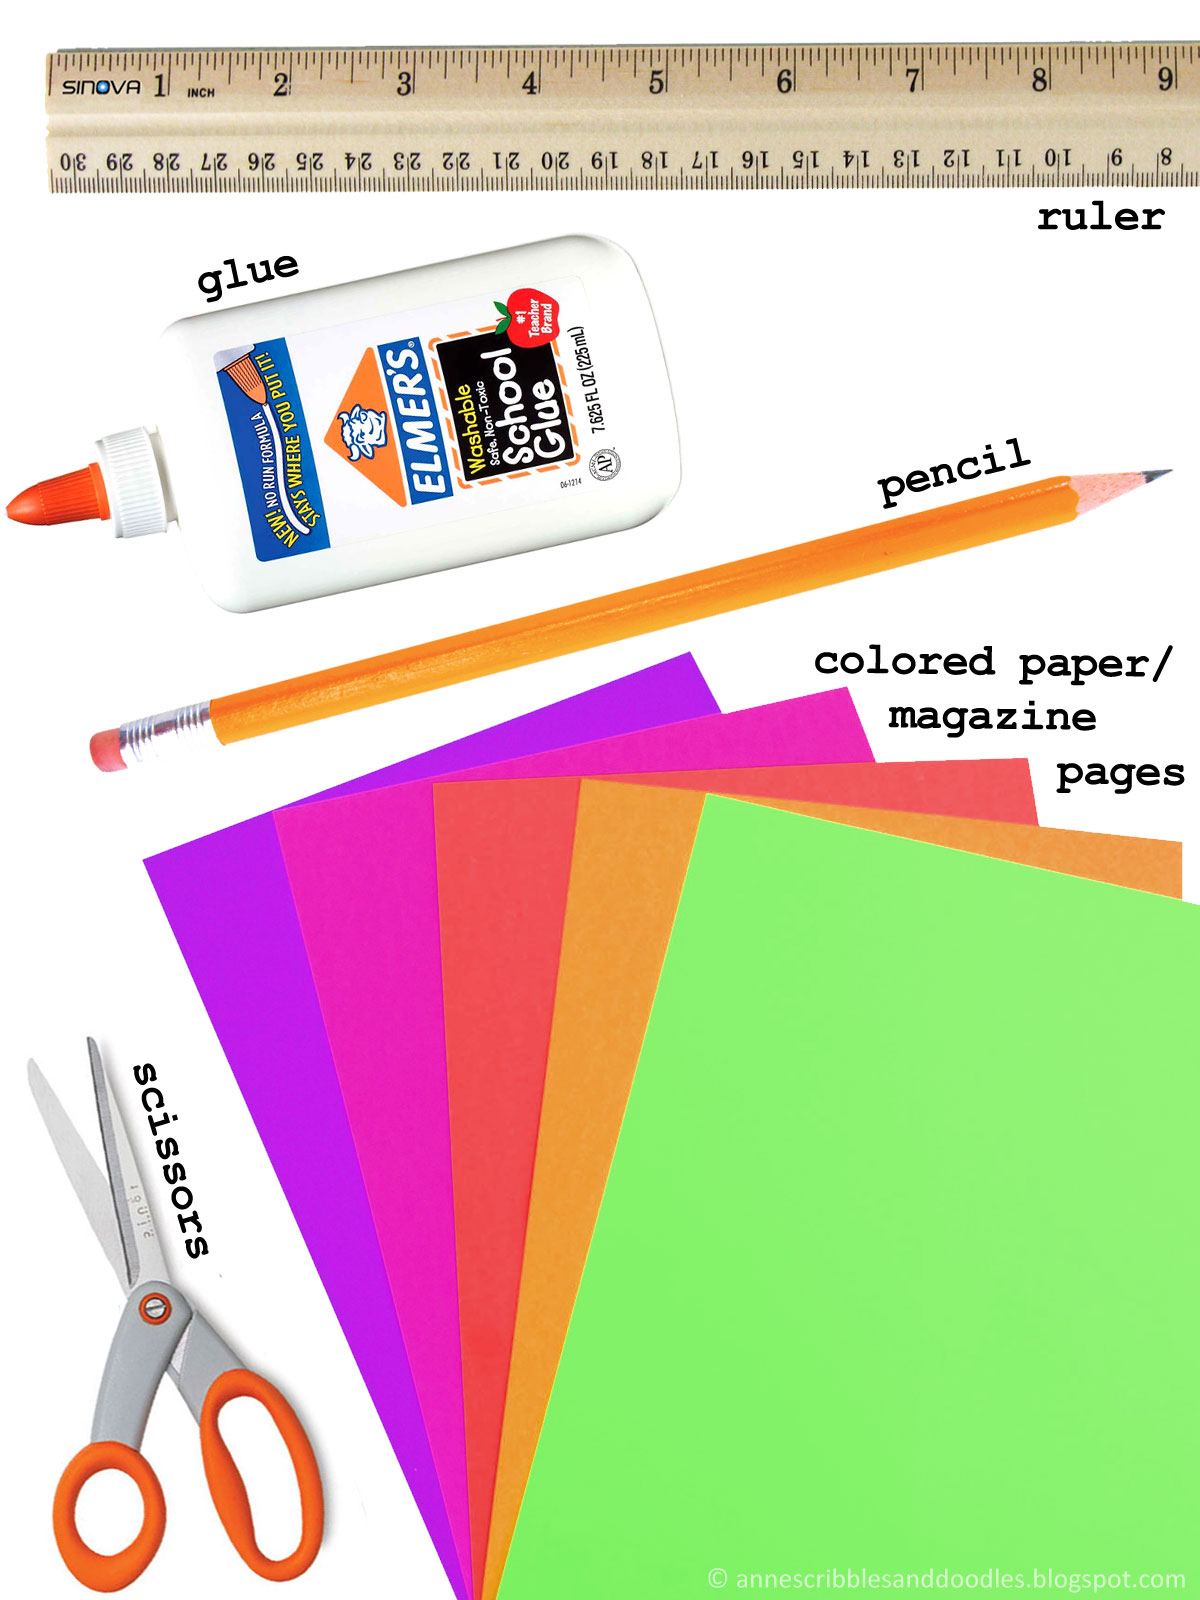
Tools and Materials: Ruler | Glue | Pencil | Scissors | Colored Paper or Magazine Pages

STEP 1: Take a piece of paper or magazine page of your liking and cut strips with the following dimensions:
- 0.75 x 10 inches (3 pieces)
- 0.75 x 9 inches (3 pieces)
- 0.75 x 4.5 inches (1 piece)
STEP 2: Fold the 10 and 9 inch strips into half. Leave the 4.5 inch as is.
STEP 3: Open up the strips to reveal a crease where you've folded it in. This shall serve as a guide to keep all the parts consistent in size.
STEP 4: Place a dab of glue along the crease.

STEP 5: Take one end and twist towards the back where your glue is. This shall create a loop.
STEP 6: Do the same for the other side. Be sure that you use the crease we made earlier as a guide to ensure that your loops are symmetrical in distance and length from both ends.
STEP 7: Continue doing this to all the 9 and 10 inch strips.
STEP 8: For the 4.5 inch strip, simply glue both ends together to form an "O".

This is how all your strips will look like. To create more contrast or variation, you can mix up different colors or patterns of paper.

STEP 9: To assemble all the pieces, start by layering the 10 inch strip loops on top of one another as shown in the above diagram. Continue doing that for the 9 inch loops and end with the circle on top.

Tada! Now you've got your very own DIY paper gift bows! What's best about these is that they are perfectly customizable. You can use any color and pattern of paper that you wish. You can mix and match combinations too. These gift bows are your standard sizes so if you want to make larger or smaller ones, all you'd have to do is follow the ratio of the dimensions mentioned earlier. Should you make these, I'd love to see photos so don't hesitate to share them using #craftswithanne. Oh and before I forget, Merry Christmas!
Other Paper Crafts and Holiday Stuff
DIY Watercolor Pattern Paper
Carnation Paper Flower DIY
New Year DIY: Memory Jars
DIY Mini Party Poppers and Piñata
DIY Alice in Wonderland Party Place Card Holders
DIY Watercolor Pattern Paper
Carnation Paper Flower DIY
New Year DIY: Memory Jars
DIY Mini Party Poppers and Piñata
DIY Alice in Wonderland Party Place Card Holders


0 comments:
Post a Comment